In the previous post, we practiced text decorations like underline, strikethrough, and superscript/subscript, and learned to customize font, size, and color with the text function. This post changes direction: we’ll circle back and round out list syntax, then add link syntax and label references — important pieces you’ll run into constantly when writing documents, but that we haven’t covered yet.
Advanced Lists: Nested and Definition Lists
We’ve already covered unordered lists (-) and ordered lists (+). But when you need to explain something in more detail, nested lists and definition lists come in handy.
Nested Lists
Indent a list item a few extra spaces and you get a nested list. - and + can even be mixed across different levels — the whole list doesn’t have to use the same marker throughout:
1 | - Chapter 1 |
Keep the outer level as an unordered list, and switch the inner level to an ordered list wherever you want to emphasize sequence — the two syntaxes mix freely.
Definition Lists
Swap the marker for a slash /, followed by a term, a colon, and its explanation, and you get a definition list — great for organizing term definitions, like a quick summary of the list syntax covered in this post:
1 | / Heading: A block starting with `=`, determining the hierarchical structure of the content. |
Unlike the previous two list types, each definition list item naturally splits into a term field and an explanation field, saving you the trouble of aligning things manually.
Customizing Numbering Styles
By default, ordered lists number items with Arabic numerals followed by a period. If you want a style like (1), 1), a), or Roman numerals instead, use #set enum with the numbering parameter, which applies to every + list that follows:
1 | #set enum(numbering: "(1)") |
numbering takes a numbering pattern string. Inside it, 1, a, and i stand for Arabic numerals, letters, and Roman numerals respectively, while every other character (like parentheses or periods) is kept as-is. So "(1)" prints (1), (2), (3), and "a)" prints a), b), c).
Typst’s built-in Chinese numeral styles only cover the plain lowercase form (一, 二, 三…) and the formal uppercase form (壹, 貳, 參…) — there’s no built-in option for the Heavenly Stems (天干: 甲, 乙, 丙, 丁…), a traditional ordinal sequence still used today for things like exam versions or contract clauses. If you want that style, numbering needs to take a function instead, where you define your own lookup table:
1 | #set enum(numbering: n => { |
The function receives the current number (starting from 1), looks up the matching character in the array, and whatever it returns becomes that item’s numbering text.
Customizing List Markers
Unordered list markers can be swapped too. Use #set list with the marker parameter, and put in any content to replace the default bullet:
1 | #set list(marker: [→]) |
If you want a different marker at each nesting level, marker can take an array instead — it’s applied in order by nesting depth, and cycles back around automatically if there aren’t enough markers for every level:
1 | #set list(marker: ([•], [‣], [–])) |
Full Example
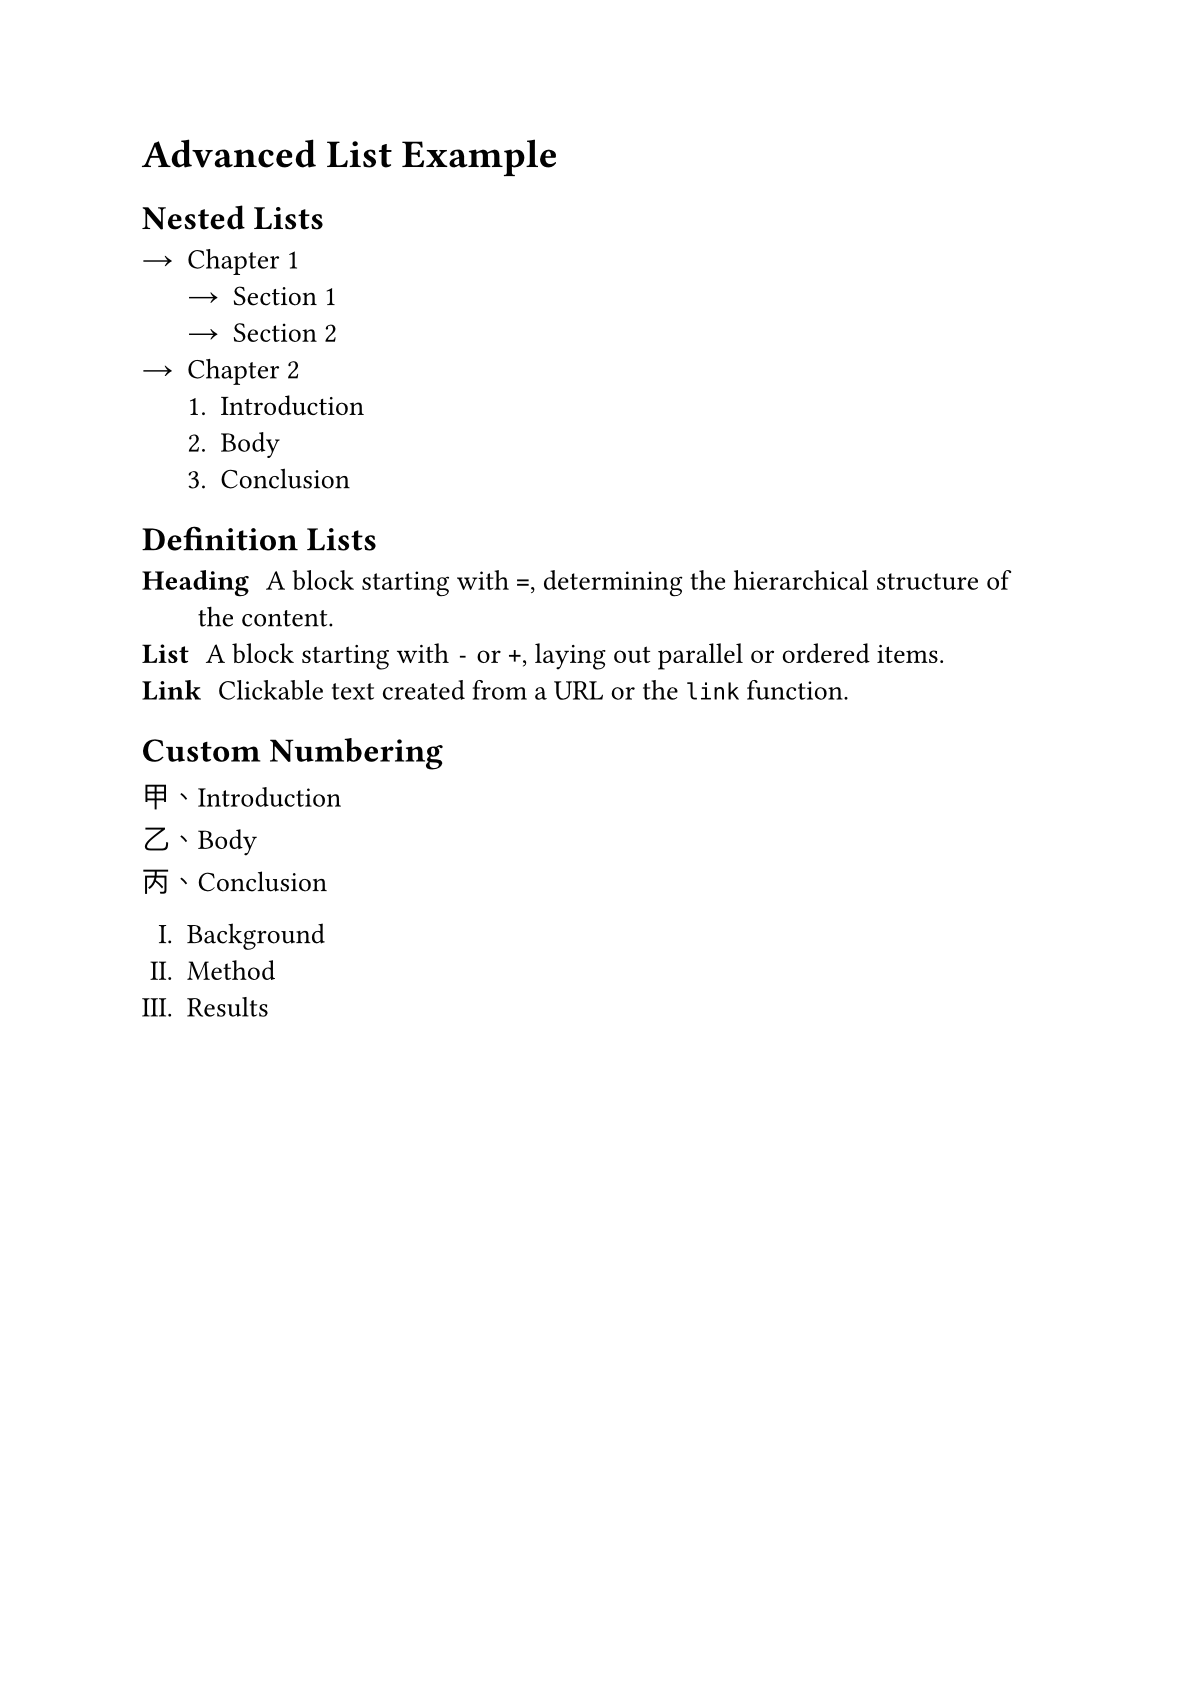
With these tools in hand, let’s put nested lists, definition lists, and custom numbering and markers together in one document:
1 | #set text(font: ("Libertinus Serif", "PingFang TC"), size: 14pt) |
After compiling with typst compile, here’s the result:
Link Syntax
Documents often need to reference external sources or websites. Typst makes this intuitive: a URL becomes a clickable link automatically, with no extra wrapping needed, and there’s a dedicated function for when you want to customize the display text.
Automatic URL Recognition
As long as a piece of text starts with http:// or https://, Typst automatically recognizes it as a clickable link — no extra syntax required:
1 | For more information, see the official site at https://typst.app. |
In the compiled PDF, that URL becomes a hyperlink you can click to open the page directly.
Custom Link Text
If you don’t want the raw URL to show and would rather display a piece of descriptive text instead, use the link function: put the URL in the parentheses as the target, and the content in the square brackets that follows is what actually gets displayed:
1 | #link("https://typst.app")[Typst official site] |
Besides a URL, the first argument to link can also take a label (<label>), used to link to a specific location inside the document — we’ll get to that in the next section.
Customizing Link Style
By default, Typst links look exactly like regular text — no automatic color change or underline. If you want links to be recognizable at a glance, the way browsers usually render them, you can use a show rule to apply a style uniformly, instead of setting it on every link individually:
1 | #show link: it => underline(text(fill: blue, it)) |
Put this at the very top of the document, and every link function call or auto-detected URL after it turns blue and underlined! The it that the show rule receives is the original link content — first text recolors it, then underline wraps it to add the underline.
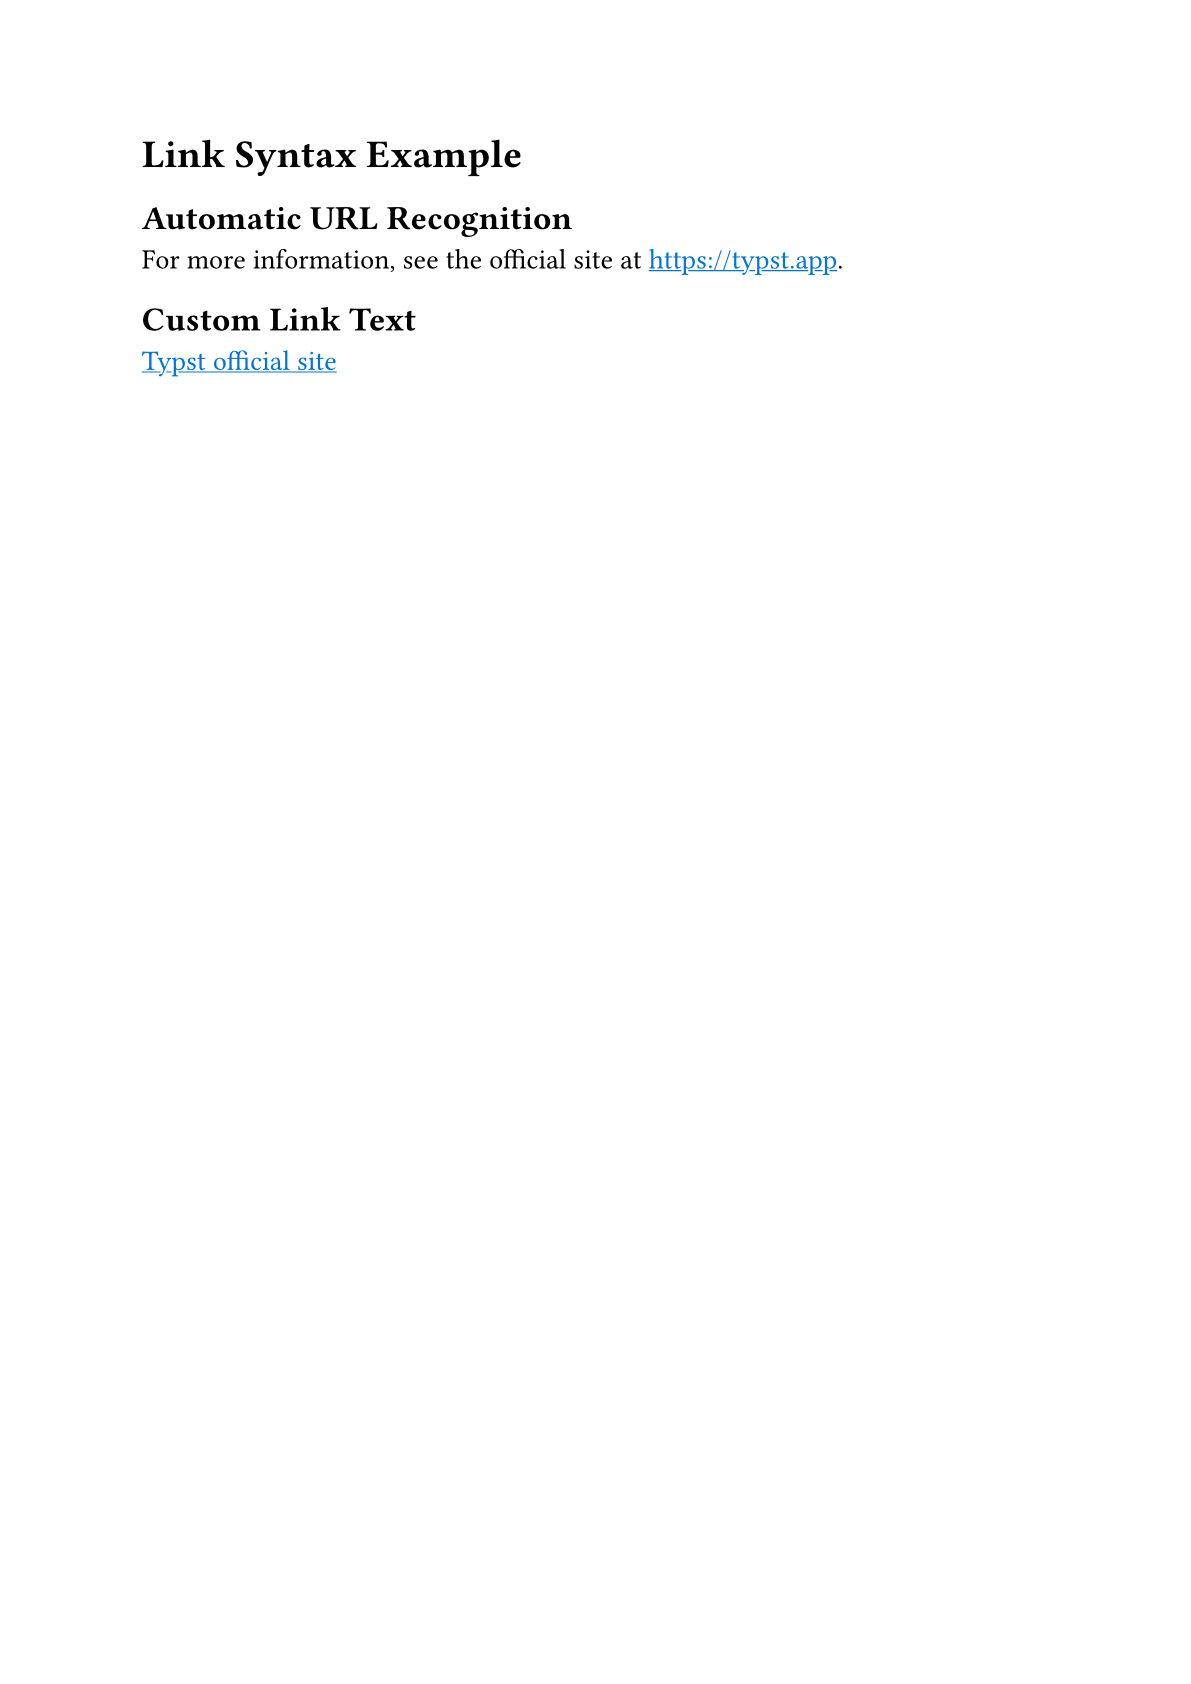
Full Example
1 | #set text(font: ("Libertinus Serif", "PingFang TC"), size: 14pt) |
After compiling, here’s the result:
Labels and References
The links so far have all pointed outside the document. If you want to cross-reference within the document itself — something like see Section X for details — you need labels and references, which let Typst automatically compute the numbering and generate the link, instead of you maintaining it by hand.
Labeling an Element
Add <name> right after a “referenceable element” — headings, figures, equations — and that attaches a label to it:
1 | = Introduction <intro> |
The label name is purely an internal identifier — it never shows up in the document — and afterward you can use that name to point content elsewhere back to where the label sits.
Referencing a Label
Use @name in your text to reference the matching label, and Typst automatically generates “section name + number” text, with a hyperlink attached:
1 | #set heading(numbering: "1.") |
One thing to watch out for: headings need #set heading(numbering: "1.") turned on first, or compilation fails outright with cannot reference heading without numbering — without numbering, Typst has no number to fill into the reference.
By default, @intro renders as Section 1. If you want different wording, add square brackets after the reference to supply custom text:
1 | This is body text — the content mentioned earlier can be found in @intro[Chapter]. |
This prints Chapter 1 instead of the default Section 1.
Full Example
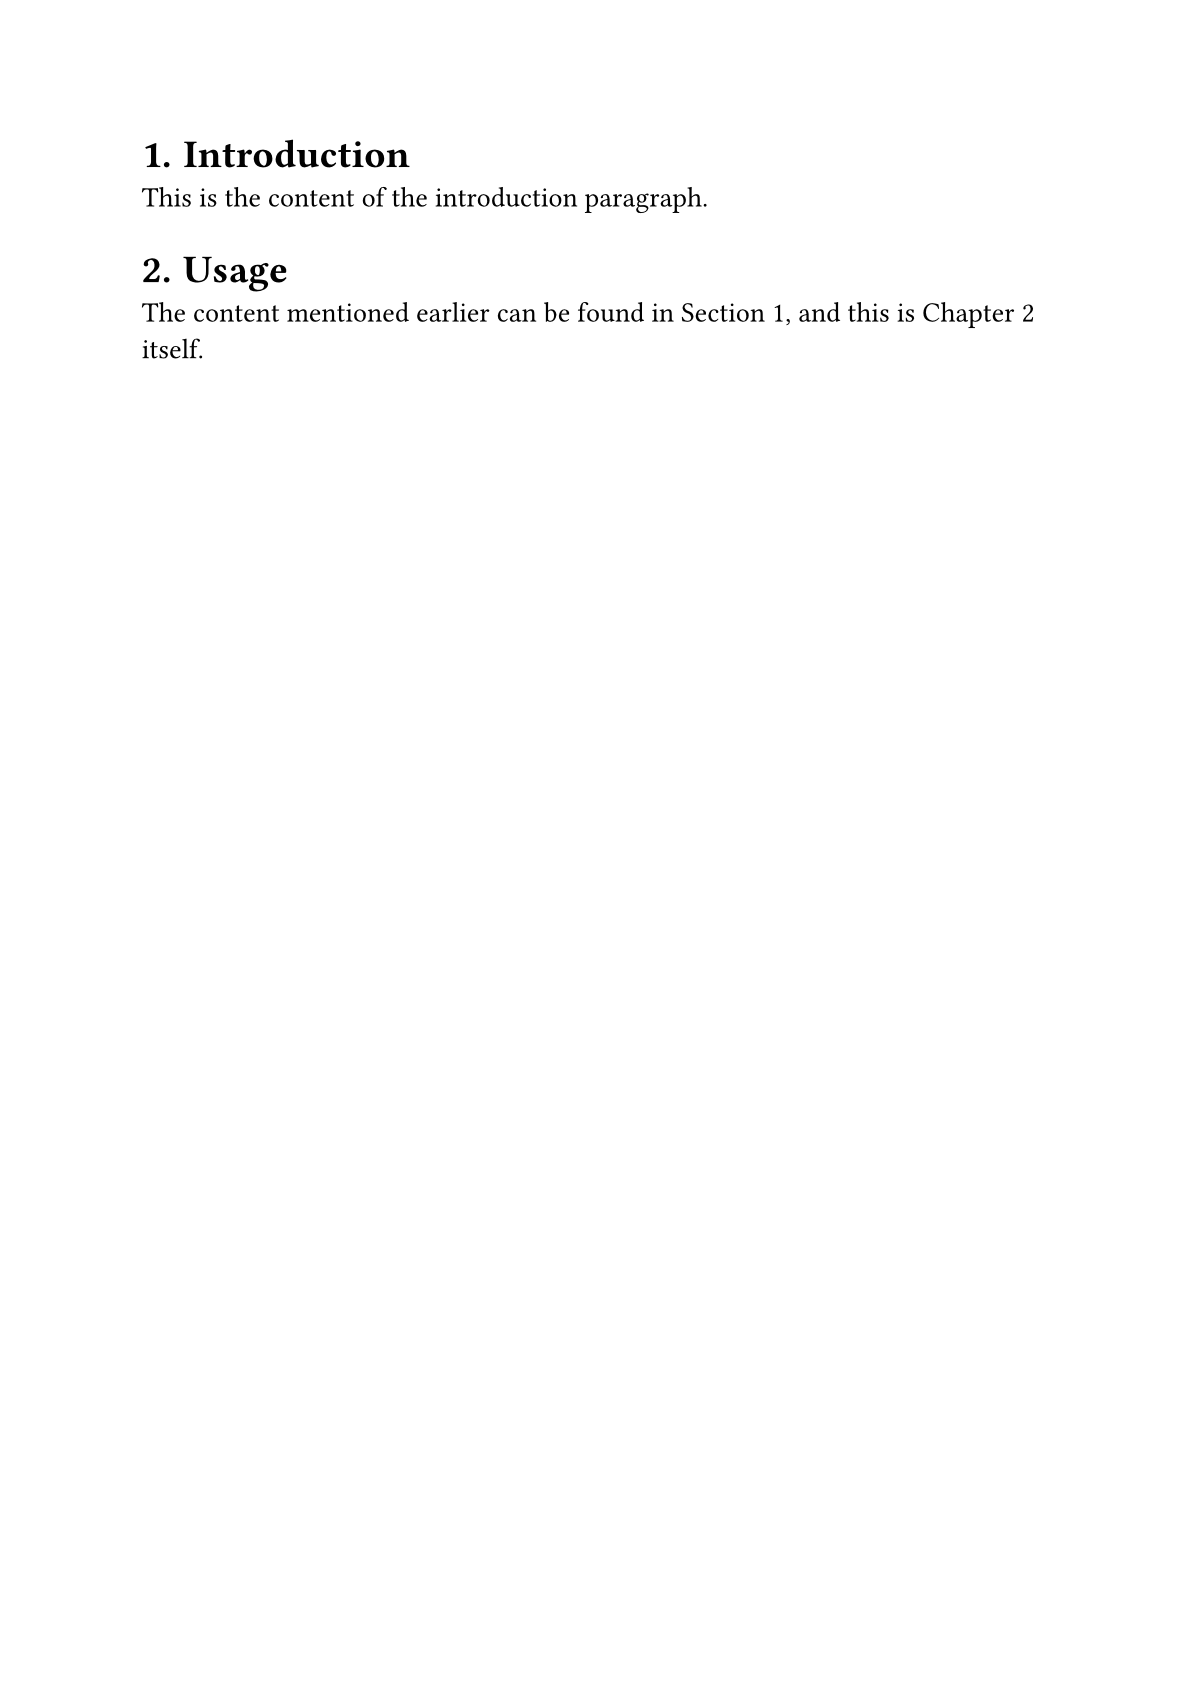
Here’s a complete document example:
1 | #set text(font: ("Libertinus Serif", "PingFang TC"), size: 14pt) |
After compiling with typst compile, here’s the result:
Other Common Markup Syntax
To wrap up, here are a few small but nearly universal pieces of syntax: manual line breaks, automatic quote conversion, and how to escape special characters when you need to.
Line Break Syntax
If you want to force a line break within the same paragraph without the extra spacing a blank line would add, put a backslash \ at the end of the line:
1 | First line content\ |
Unlike the paragraph break you get from pressing Enter twice, \ only breaks the line — it doesn’t add any extra spacing between paragraphs.
Smart Quotes
Type a plain straight quote ' or ", and Typst automatically converts it to the correctly directional smart quote based on context — you don’t have to switch between opening and closing quotes yourself:
1 | "This is a quoted sentence." |
If you don’t want this automatic conversion, you can turn it off for the whole document:
1 | #set smartquote(enabled: false) |
Escaping Special Characters
Quite a few characters carry special meaning in Typst syntax — *, _, #, $, and more. If you just want to display the symbol itself, put a backslash \ in front of it to escape it:
1 | This laptop costs \$1,500. |
For rarer symbols, you can also use Unicode escape syntax and type the hex code point directly:
1 | Feeling \u{1f600} today. |
If you’re not sure what code point a symbol maps to, search by name or appearance at SYMBL, then paste the code point straight into \u{}.
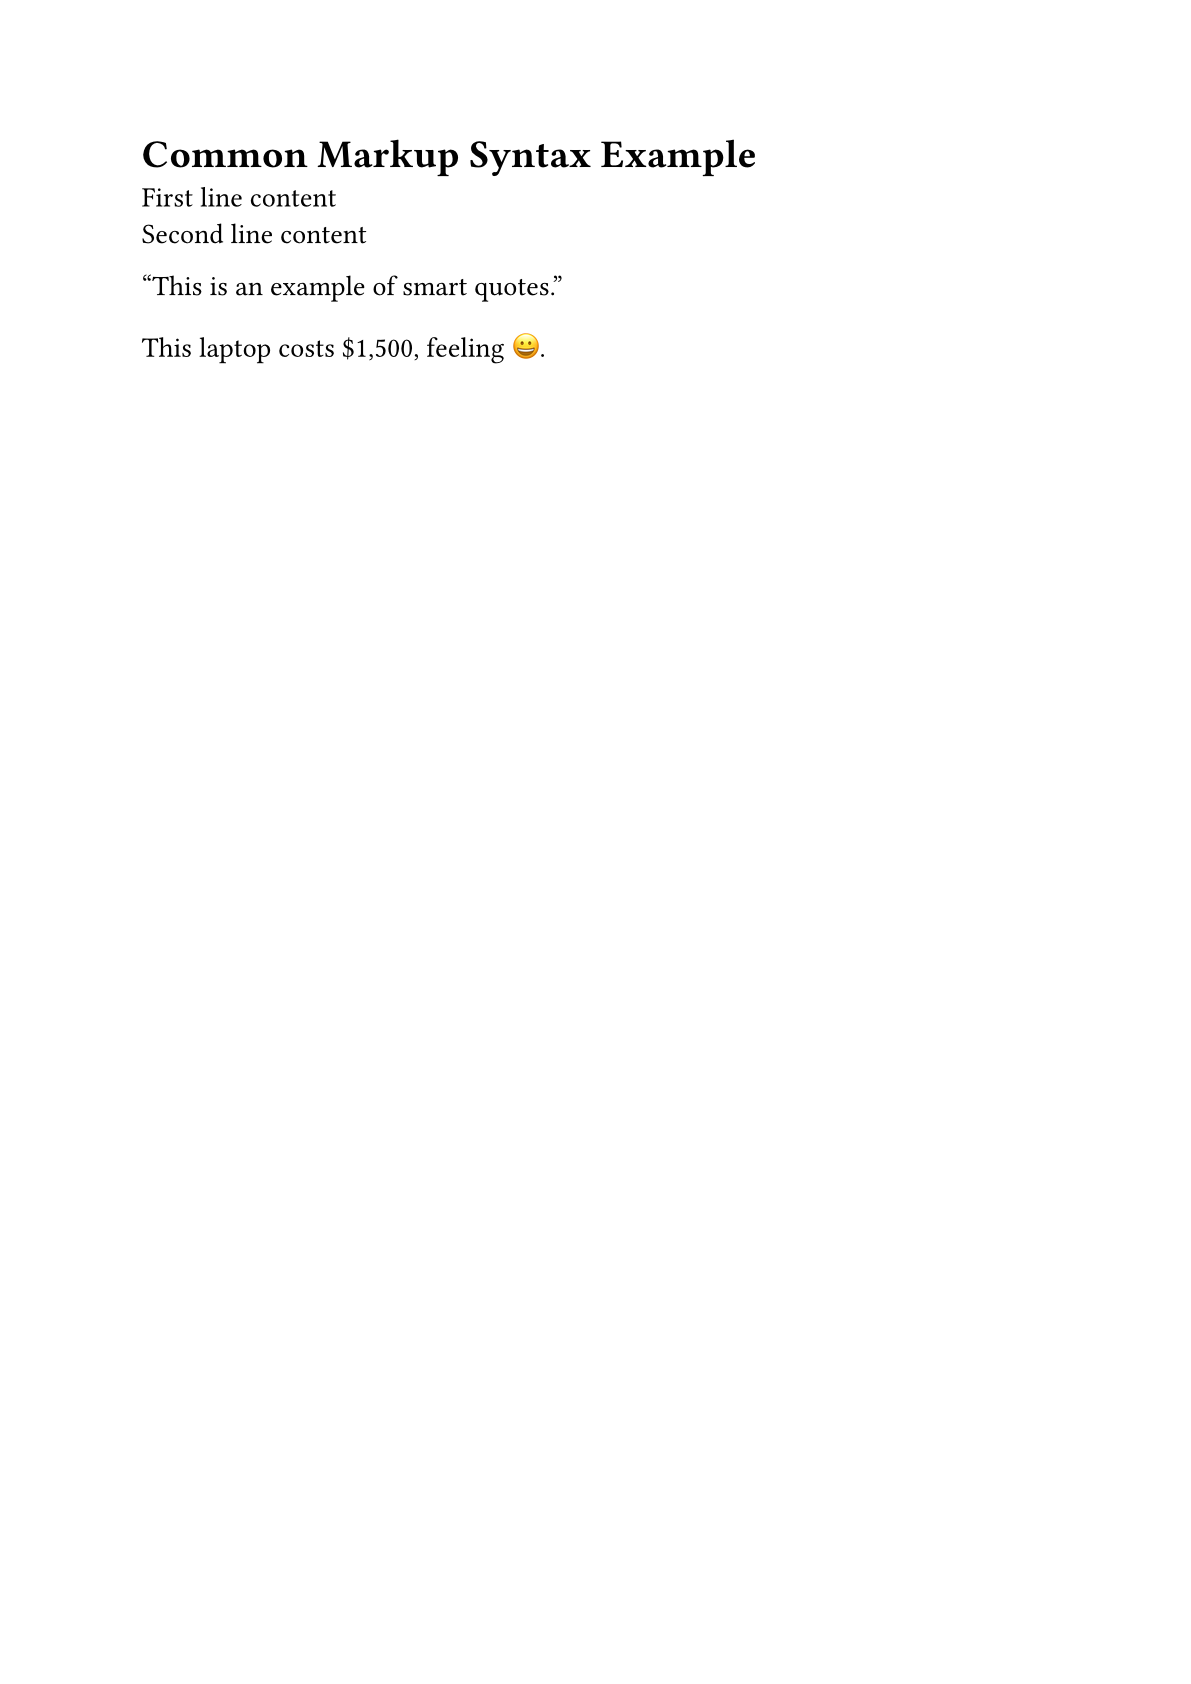
Full Example
1 | #set text(font: ("Libertinus Serif", "PingFang TC"), size: 14pt) |
After compiling with typst compile, here’s the result:
Summary
This post covered nested and definition lists, plus customizing numbering styles and markers with #set enum and #set list; then rounded out link syntax — automatic URL recognition, custom display text with the link function, and applying a uniform link style with a show rule; labels and references let you cross-reference within a document without maintaining section numbers by hand; and finally wrapped up with a few easy-to-overlook essentials: line breaks, smart quotes, and escaping special characters.
Next up, we’re moving into code blocks and math formulas — another major strength of Typst besides layout.
See you next time~
Code for this post: day04-lists-and-links